Lessons |
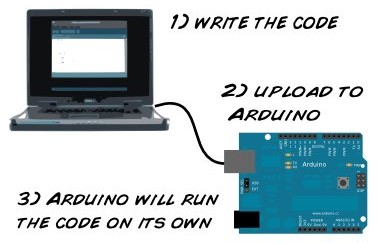
Basic Arduino SketchArduino programs are called sketches. This matches the Arduino philosophy of prototyping and creativity. Arduino programs and builds are similar to an artist's sketches on paper. The only difference being that we use a computer and electrical components to create.
Creating and programming in the Arduino environment follows these simple steps:
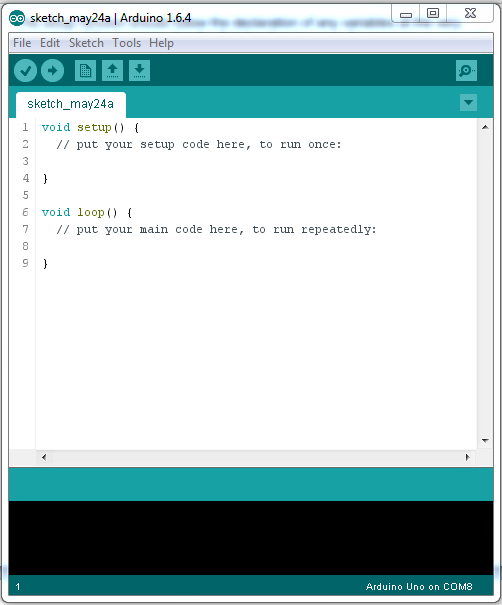
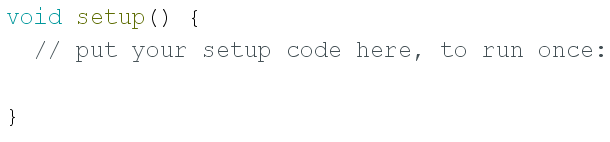
StructureEvery basic Arduino sketch is fairly simple in structure and is composed of two basic parts:
Both functions are required for a program to work properly.
Void Setup()The void setup() function is the first function to run in a program and is only run once. It is used to set the pin modes or to begin the serial communication. It must be included in every sketch, even if there is no code to run.
Void Loop()The void loop() function is run after the setup function. It functions as it name suggests. It continuously runs the code written inside its curly brackets. Once it reaches the end of the code, it loops back to the beginning and runs the code again. This allows the sketch to continuously change, respond, and control the Arduino board. The loop function will continue to run until the reset button on the board is pressed or the power source has been removed.

Verify, compile, and Upload the Sketch
After you have written your code you need to check whether it is correct. Click the verify icon (check mark) in the menu bar.

The Arduino IDE will check your code for mistakes in syntax. If there are no mistakes, a message will appear in the message box as shown below.

Successful compilation of a sketch. It also tells you how much memory the sketch will use.
Once you have verified and compiled your sketch upload it your Arduino board by clicking on the upload button (white arrow) in the menu.
|
© 2014 KKFSCS |


